
Composting at Home
Composting may sound complicated, smelly, or dirty, but it is actually quite simple and very rewarding. It is easy to do at home, and in some cases, you won't need to find yard space or squeeze extra time out of your busy schedule.
What is composting?
Composting is a process which encourages the production of beneficial bacteria and fungi that break down organic matter to create humus, a rich nutrient-filled material that helps retain moisture, feed your plants, and amends unbalanced or poor soils. The organic matter is often used as an alternative to harsh chemical fertilizers which can burn your plants and only offer macronutrients rather than a well-rounded blend of macro- and micro-nutrients.
Composting is also healthier for the environment as a whole. About 30% of all the waste that ends up at a landfill is food scraps and yard waste. These materials release methane gas as they decompose and contribute to the issue of runoff into local water supply. Using them in your composting effort at home helps to put those nutrients back into the ecosystem quicker and extends the life of the landfill as well.
How to use your compost
Compost can be mixed with potting soil or garden soil as a soil amendment for use on both indoor and outdoor plants. Sometimes the soil we buy or use in our yards does not have all of the "ingredients" some plants need to thrive. Adding organic amendments, like compost, will enrich the soil and allow the plants to grow faster and produce more. You can also make a compost tea by steeping a small amount of compost in water for 24–48 hours. Then, strain the mixture and spray it onto the plants to enhance the growth of your garden.
What you will need for a successful composting pile
All composting requires three basic ingredients:
- Brown materials: This includes items such as dead leaves, branches, and twigs to provide carbon for your compost
- Green materials: This involves materials such as grass clippings, vegetable waste, fruit scraps, and coffee grounds to provide nitrogen
- Water (of course!): Moisture helps breakdown organic matter.
The right mixture of water, greens, and browns is important for compost development. Your compost pile should have an equal ratio of browns to greens, each in alternating layers of different sized particles for the best result.
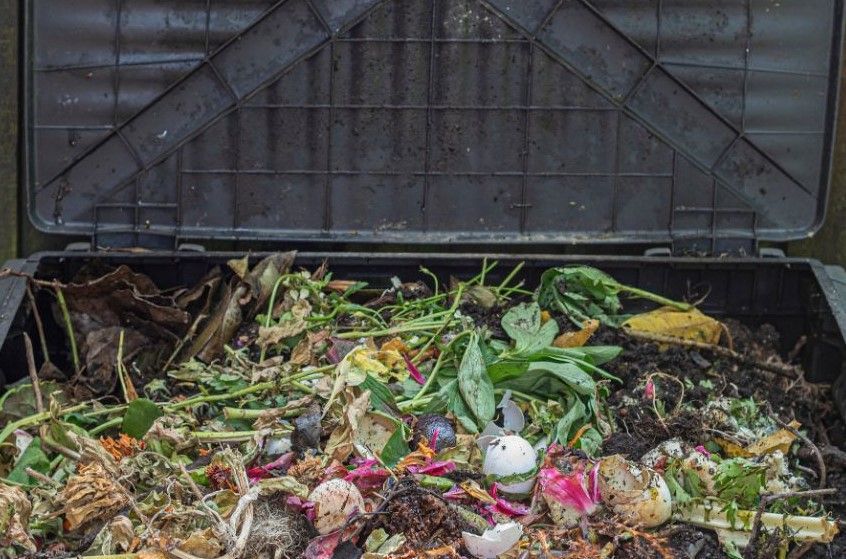
Here are some household materials that your compost pile will love:
- Fruits and vegetables
- Crushed eggshells
- Coffee grounds and filters
- Tea bags
- Nut shells
- Shredded newspaper
- Shredded cardboard
- Shredded paper
- Yard trimmings (small twigs and leaves)
- Grass clippings
- Hay and straw
- Sawdust
- Wood chips
- Fireplace (wood) ashes
And here are some things you should avoid putting in your compost pile:
- Black walnut tree leaves or twigs, which release substances that can be harmful to plants
- Coal or charcoal ash, which also contain substances harmful to plants
- Dairy products (e.g., butter, milk, sour cream, yogurt) and eggs create odor problems and attract pests such as rodents and flies
- Plants with diseases or pests that can transfer back to healthy plants
- Fats, grease, lard, or oils create odor problems and attract pests such as rodents and flies
- Meat or fish bones and scraps create odor problems and attract pests such as rodents and flies
- Pet wastes (e.g., dog or cat feces, soiled cat litter) might contain parasites, bacteria, germs, pathogens, and viruses harmful to humans
- Yard trimmings treated with chemical pesticides might kill beneficial composting organisms
- Coffee pods (most contain plastic and won’t breakdown)
You'll also need a few tools to get you started:
- Pitchfork or square-point shovel for turning the pile
- Water hose with a spray head
- Gardening gloves
- Composting bin (optional)
However, there are many ways to set up a compost pile and you may find a method that works for you that forgoes these tools completely.
Maintaining a healthy compost pile
No matter which method you choose to use, each has a few requirements that are the same all around. Here are some tips to find the perfect spot and keep your pile healthy:
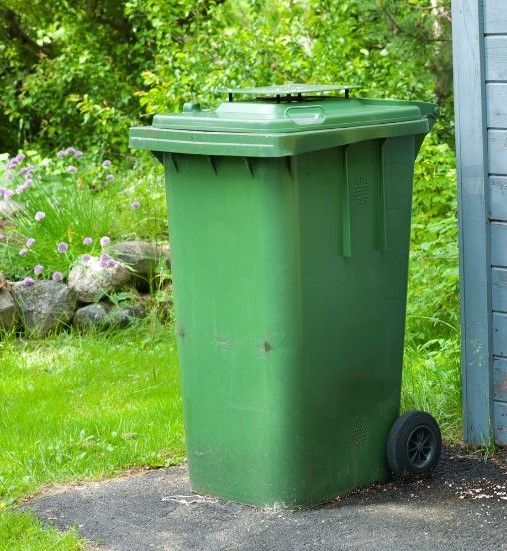
- Select a dry spot near a water source for your compost pile or bin. If you do not have space for an outdoor compost pile, you can use a space-saving indoor/outdoor compost tumbler, which we will review in another section.
- Brown and green materials should be layered in as they are collected, making sure larger pieces are chopped or shredded to aid in faster decomposition
- Moisten dry materials as they are added
- Maintain the moisture within the pile to keep decomposition going. If you need to, you can cover the top of the pile with a tarp to keep it moist
- A properly managed compost bin will not attract pests or rodents and will not smell bad. If you find pests or an odor in your pile, you'll need to troubleshoot and determine what is or isn't happening in your pile
- Remember to tend your pile and keep track of what you throw in. The more effort you put in, the quicker you will get compost!
Different methods for composting at home
Luckily, there are many different ways you can begin composting at home, no matter how much space or materials you have. From DIYing it to purchasing a ready-made kit at a local store, you can surely find something to fit your budget and lifestyle.
Cold Composting
Indoor/Outdoor
Bin Composting
Worm Composting
Making a hot compost pile
Hot composting is a method where microbial activity within the compost pile is optimized using heat, resulting in usable compost in a relatively shorter period of time. This method is a little more involved than some people want, but it smells less than other methods and it can continue doing its thing all year long.
1. Choose a location
You'll first want to choose the optimal location for your hot compost pile. This type requires access to full sun, so no surrounding buildings or trees to cast shade. Shade will cool the pile and will slow down the decomposition process.
2. Select your container
Next you'll need to select a container, if necessary. The size of your hot compost pile is important-- too small and the pile will not heat up sufficiently. A good size for the average composter is at least four feet wide by four feet high. You may want to cover with a thick layer of straw or a tarp to help retain heat.
If you are using a container, it is well to select a black or brown one that will absorb and retain more heat. Make sure it has a lid to retain heat as well as holes for aeration.
3. Get your materials ready
You may add materials over time, but it is best to have all your materials ready when you build the hot compost pile. You will need a large amount of organic matter with the correct carbon-to-nitrogen ratio. Your hot compost pile should have 25 parts brown (carbon) materials and one parts nitrogen-rich (green) materials. You do not need to layer the materials using this method. Remember to chop up and mix the materials you put in to aid in the decomposition process.
4. Add compost activators
Once your pile is established, you can add natural compost activators to ensure your pile heats us quickly. These might include farm animal manures, a handful of existing soil or compost, and bloodmeal.
5. Mix it up!
Mix all the ingredients together, water it so the ingredients are evenly moist and let it sit. Let the pile settle for three to four days before turning.
A few things to watch are the temperature, moisture levels, and mixture.
- The optimal temperature for microbial activity is 130 to 140 degrees. You can measure this with a soil/compost thermometer, or by simply sticking your hand into the pile. You'll want to monitor the temperature daily. If it's uncomfortably hot, it's at the right temperature. Once the pile starts to cool down below 130 degrees, it's time to turn the pile. Turning the pile aerates it, kickstarting microbial activity again.
- Moisture is also essential. The contents of your compost pile should feel like a sponge that has been wrung out well. Too dry, and microbial activity will be diminished. Too wet, and the microbes that thrive in anaerobic conditions will take over, this often results in bad odors in the pile and an almost complete halt of decomposition. If you find that your pile is too dry, give it a watering with the hose. If it's too wet, turn it, adding shredded paper, to help soak up excess moisture. If it is going to rain, cover the pile with a tarp.
- Turning your pile three times a week is usually ideal if just starting the process. Do not turn every day. As your compost matures, turning should be limited to once a week. When you add new items, turn your pile, so the new items reach the center. The process will slow down in the winter, but you should still turn the pile.
After about one to three months of following this routine, you should have dark brown compost. It’s important to let the pile rest an additional two weeks before using it.
Making a cold compost pile
Cold composting is the easiest way to compost at home, because at its name suggests, it does not require heat to do its job. It requires little work to get it started and you don’t need to keep checking the temperature of the pile. You will need a decent amount of space, but with cold composting you don’t need to worry about the carbon and nitrogen ratios. However, it takes much longer to get usable compost, especially depending on your local climate, and its more prone to water logging when in a container.
1. Choose a location
To get started, pick a shady location for your compost pile or bin. This type does not need to be near the sun, and can be done on a porch, under a tree, or even in the kitchen.
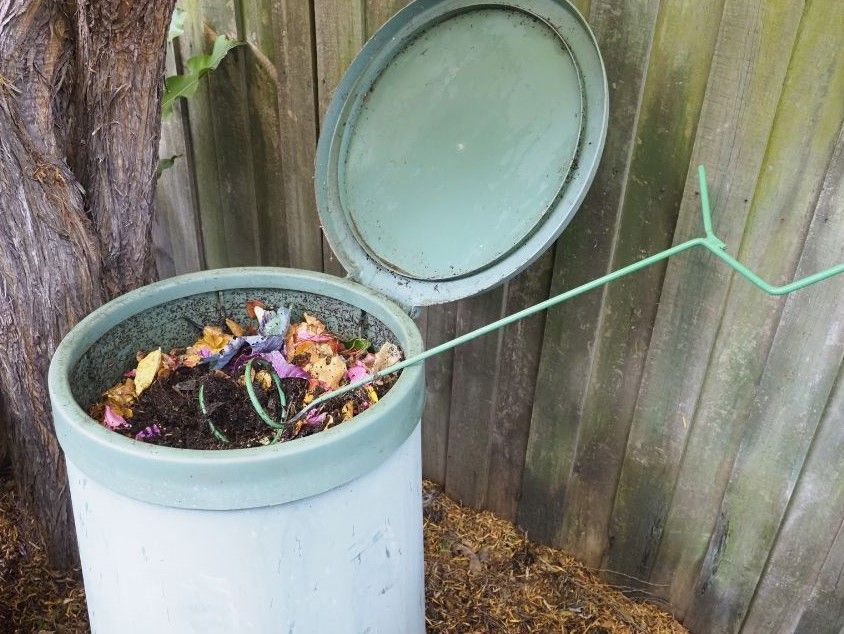
2. Select your container
Once you've selected your location, choose a container (or not). If you use a container, you'll want to make sure plenty of air can enter the container to promote beneficial microbial activity. There are many examples online, from turn style indoor/outdoor containers, wood pallets, Rubbermaid bins, trash cans, and more. Select one that suits your needs. If you are not using a container, start with bare ground.
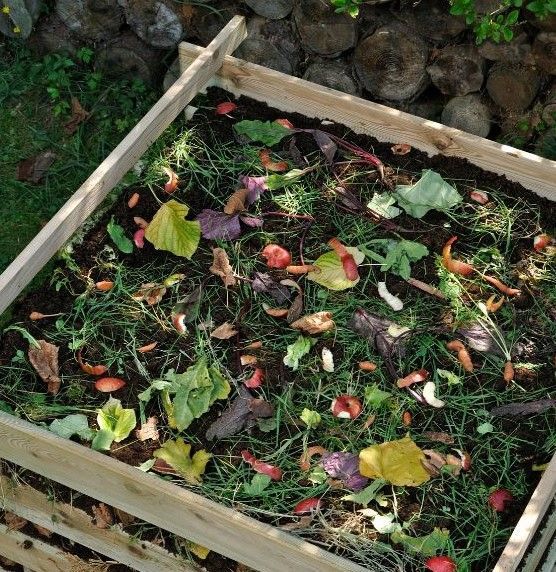
3. Get your materials ready and begin layering
Now that you are prepared, you can begin by layering your brown materials at the bottom (shredded leaves, branches, twigs, newspaper, or torn up cardboard). Then layer about four to six inches of green materials on top (grass clippings, kitchen scraps, etc.). Aim for 2 parts brown and 1 part green so your compost pile doesn’t get too wet and air can circulate well. Keep layering, alternating between browns and greens. Always end so you have brown material on top. Lastly, dampen your pile with enough water to make it feel like a damp sponge, but not so much that it is soaking wet.
4. Turn your pile regularly
Every week or so, turn the compost before adding new green then brown layers, to ensure air gets to the inner most layers. Keep adding layers until your compost bin or pile is full. You'll want to continue turning it every so often to aerate and check on the progress. When it's ready, your compost pile should start to look smaller than when you started. The compost should look dark brown, smell good, and feel moist. There should not be any recognizable pieces of the ingredients added. At this point, you should be able to use your compost in your garden.
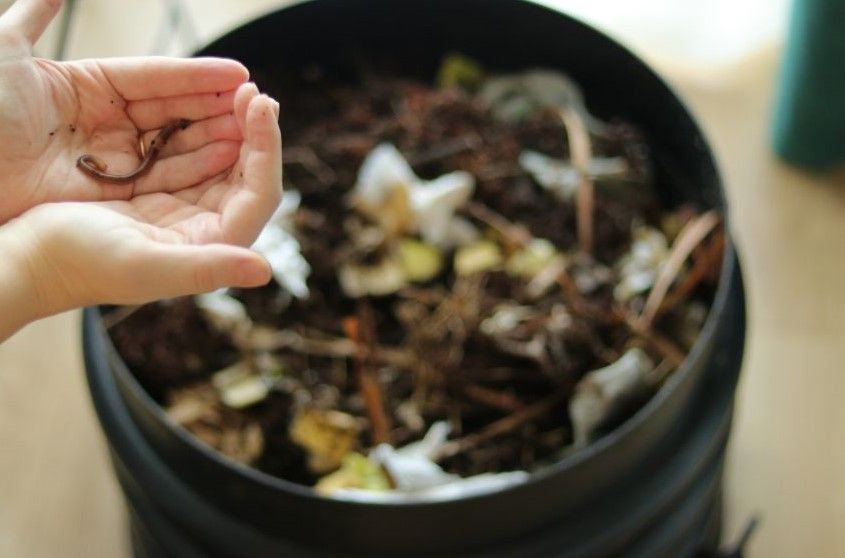
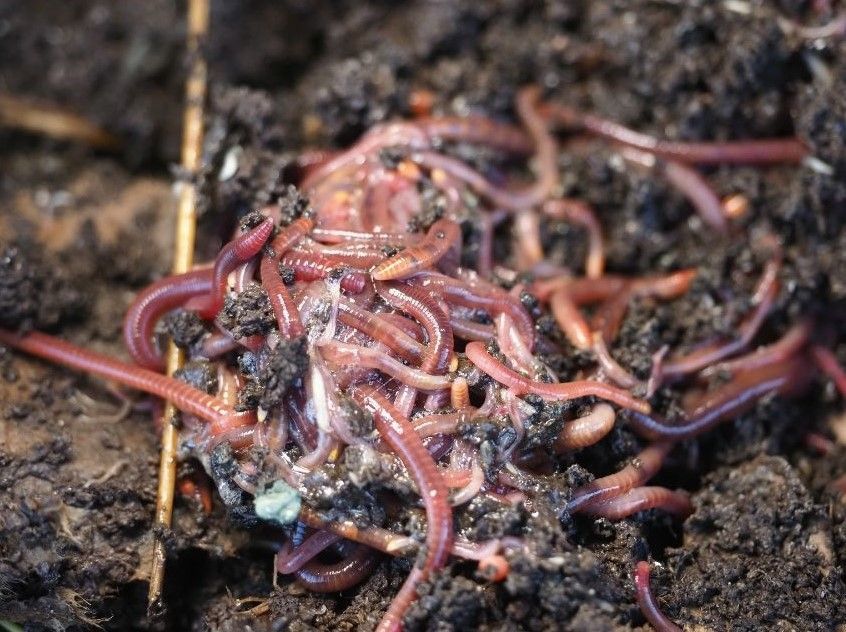
Making a worm compost bin
Worm composting, also known as vermicomposting, is the use of surface-swelling red worms or red wigglers to recycle food scraps and other organic material into an excellent soil amendment and coveted fertilizer called worm castings, or black gold.
Worm composting is a good option if space is limited, or you do not have a garden to use traditional compost in. Often, people keep their worm composters in their basements, under kitchen sinks, out on the porch, or anywhere that is convenient. This type of composting does not smell unless there is too much material added in the bin for the worms to break down quickly.
1. Select your container
For a worm bin outside, many people have been successful using a simple wood box with gaps between the planks (like a pallet). This is lined with a heavy-duty plastic, such as greenhouse plastic, which is punctured with holes for drainage and airflow.
For a worm bin inside, you can use plastic bins with a lid, several five-gallon buckets, or pretty much anything you can think of to contain the worms. A single container requires you to dig out and separate your worms, whereas multiple does not. Otherwise, most of the information remains the same. With any worm bin design, the goal is to have good ventilation and drainage, as well as a dark, moist environment.
When using multiple containers, you'll want to stack them gradually and change them out over time to keep the process going. Drill holes in the bottom of all but one container, and put the in-tact container on the bottom of the stack. Add a screen or aerated lid to prevent escape.
2. Prepare the bins
Once you've selected your bins, you'll want to prepare them for your worms. Fill the bins about 1/3 to 1/2 of the way full with bedding material and soil (optional). Bedding can be leaves, straw, shredded paper, shredded cardboard, or egg cartons.
Once you've got the bedding materials in, add water until the moisture level is the same as a wet sponge–not too wet, not too dry. If you squeeze bedding in your fist, there shouldn't be much water dripping out. Too much water could drown the worms.
3. Add the worms
After preparing the bins, add the worms, and close the lid. Let them get used to the bins for a day before feeding them.
4. Feed the worms
Feed the worms once a week. You can use food scraps like vegetable and fruit peelings, used coffee grounds in small quantities, crushed eggshells, pumpkin, squash, and green leafy vegetables. Add more bedding, cover with moist soil, and put the lid back on. Remember to keep the worm bin moist so the worms can move freely.
5. Collect your worm compost!
As time passes, you will notice less bedding and more compost in your bin. After three to five months, when your bin is filled with compost and very little bedding, it is time to remove the compost from the bin. To prepare for harvesting, do not add any new food to the bins for two weeks. There are two methods for harvesting:
Hands off method
Push all of the worm bin contents to one half of the bin, removing any large pieces of undecomposed food or newspaper. Put fresh bedding and food scraps in empty side of bin. Continue burying food scraps only in freshly bedded half.
Over the next 2-3 weeks, the worms will move over to the new side (where the food is), conveniently leaving their compost behind in one section. When this has happened, remove the compost and replace it with fresh bedding. To facilitate worm migration, cover only the new side of the bin, causing the old side to dry out and encouraging the worms to leave the old side.
Hands on method
Dump the entire contents of the worm bin on to a sheet of plastic or paper. Make several individual cone-shaped piles. Each pile will contain worms, compost and undecomposed food and bedding. As the piles are exposed to light, the worms will migrate towards the bottom of the pile. Remove the top layer of compost from the pile, separating out pieces of undecomposed food and newspaper. After removing the top layer, let pile sit under light for 2-3 minutes as the worms migrate down. Then remove the next layer of compost.
Repeat this process until all of the worms are left at the bottom of the pile. Collect the worms and put them back in their bin with fresh bedding. For both methods, you can continue to compost your food scraps after harvesting. Just add fresh bedding and food scraps to the bin. If you don’t want to continue, add the worms to a garden. The worm compost can be used right away or stored for the gardening season.
Regardless of which method you choose the compost you harvest will most likely contain a worm or two, along with old food scraps and bedding. If you are using the compost outdoors, there is no need to worry, the worms will find a happy home and the food scraps and bedding will eventually decompose. If you are using the compost indoors, you may want to remove old bedding and food scraps for aesthetic purposes and ensure that there are no worms in the compost. Though the worms will not harm your plants, the worms may not like living in a small pot.
References:
Can Compost Worms Survive Winter? - Grower Today
How To Start Your Own Worm Composting Bin | Homesteading
Composting Leaves: How to Achieve Fast Leaf Decay - Epic Gardening
Cold Composting: Step-by-Step Guide (treehugger.com)
Guide to hot composting: how to get the best garden compost in just four weeks | Gardeningetc
Hot Composting Vs. Cold Composting (What's The Difference) - (composthq.com)
Images - Canva


Check out the latest...